French Colors and subconcious influence from Vincent Van Gogh

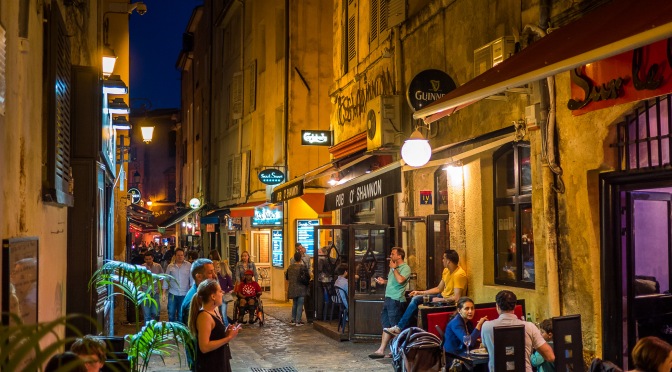
One of Van Gogh’s most famous pictures “Cafe Terrace at Night” evokes a sense of a warm inviting cafe to stop in for a drink on a comfortable night in Arles.

Cafe Terrace at Night

As he himself described it to his sister:

On the terrace there are small figures of people drinking. An immense yellow lantern illuminates the terrace, the facade, the side walk and even casts light on the paving stones of the road which take a pinkish violet tone. The gables of the houses, like a fading road below a blue sky studded with stars, are dark blue or violet with a green tree. Here you have a night painting without black, with nothing but beautiful blue and violet and green and in this surrounding the illuminated area colours itself sulfur pale yellow and citron green.

I was editing pictures from my trip to France and noticed the color palate was very familiar.  The fashions may have changed but you can see not much else has; an evening out for a drink with friends is still as it was.

Cafe Terrace at Night
The blue sky of early night.

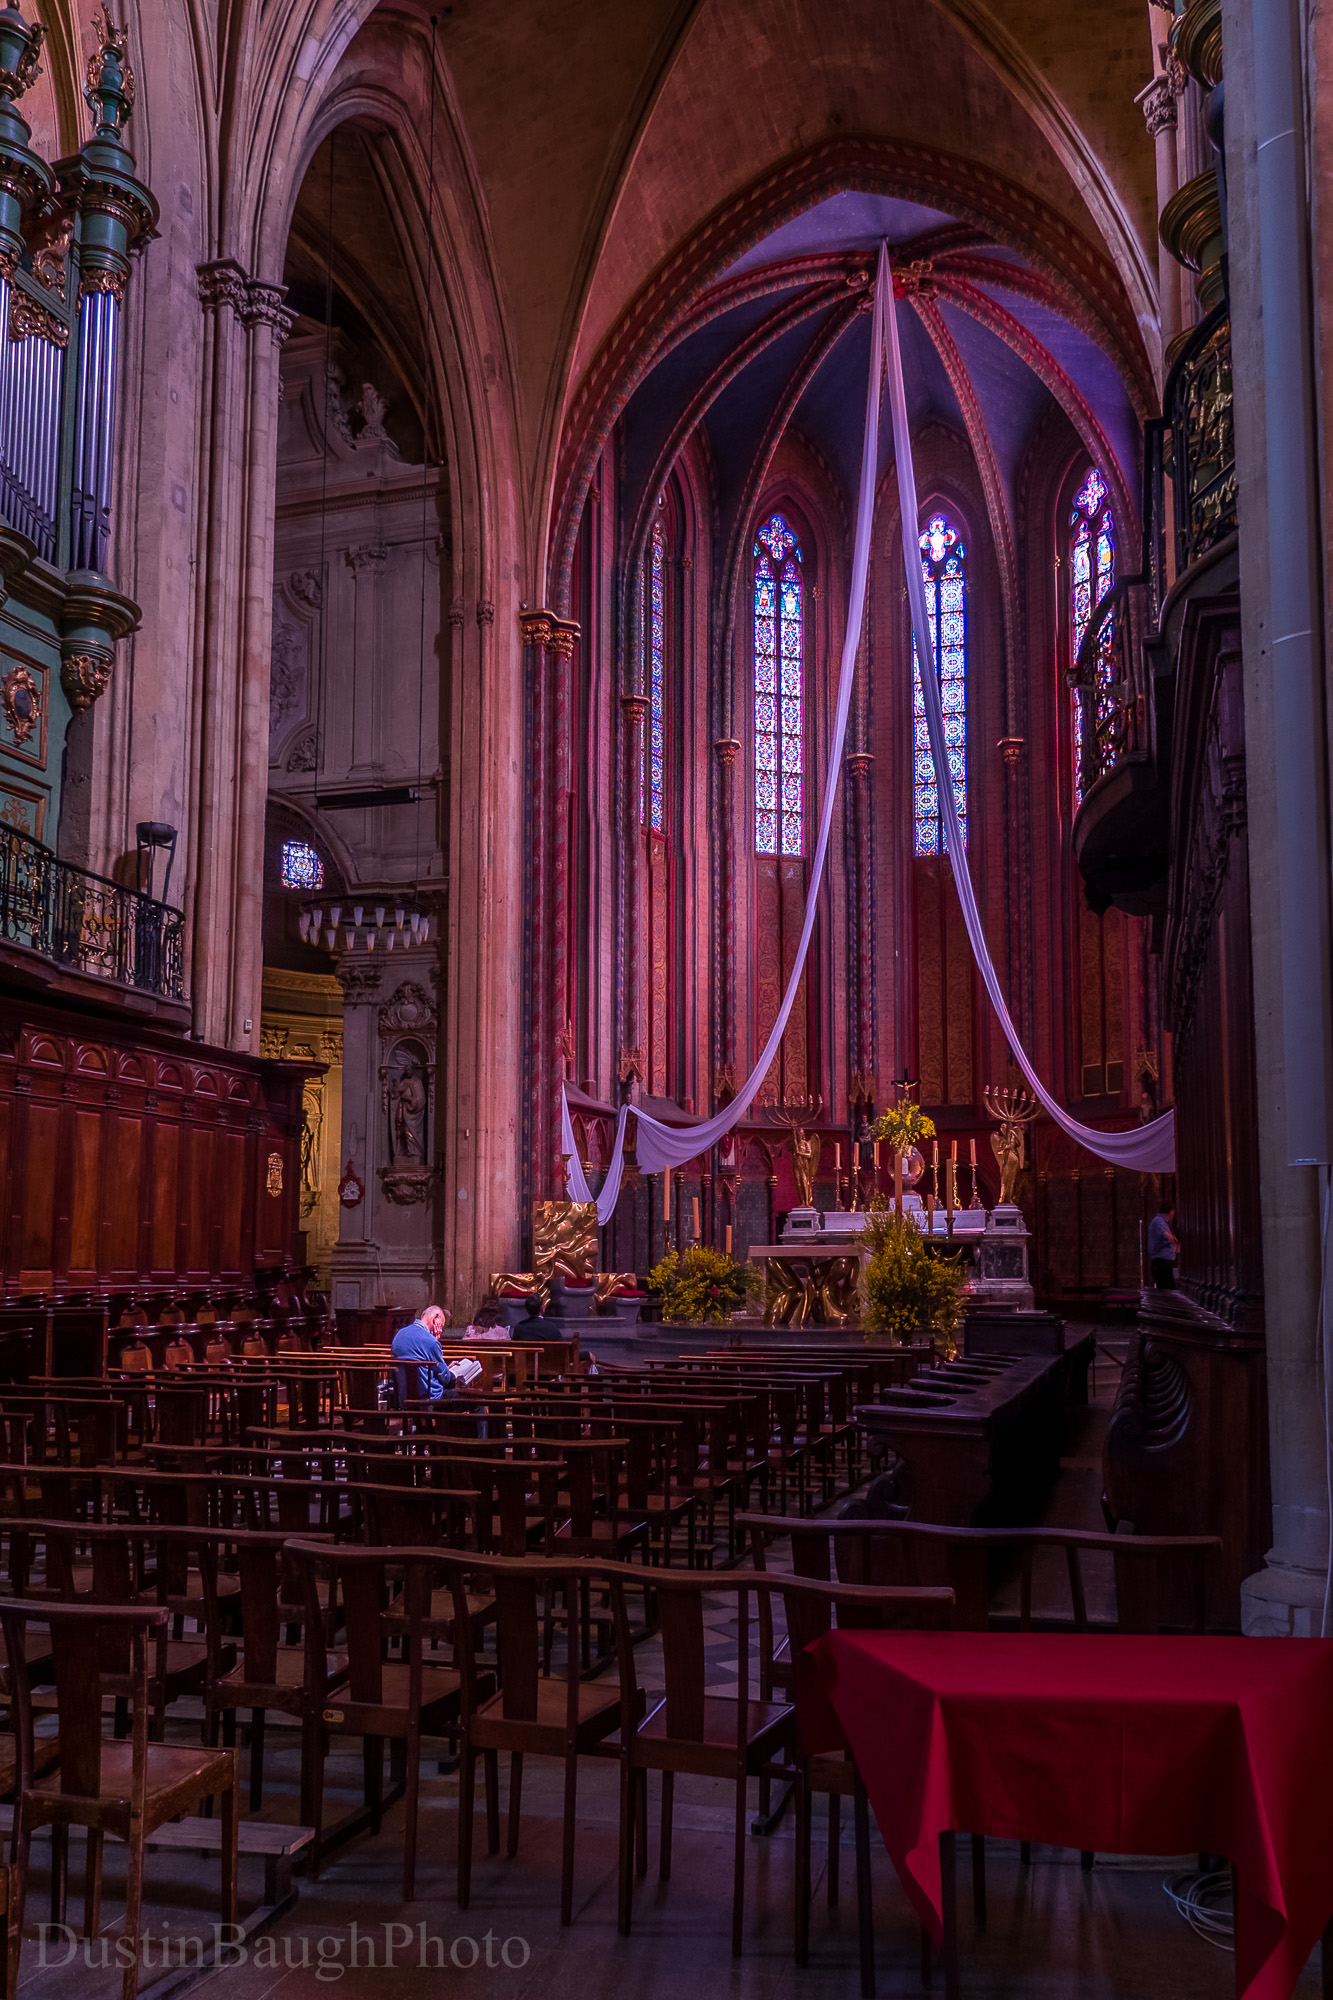
These pictures are actually from the old town of Aix en Provence and not Arles like Van Gogh’s painting but the similarity is striking.  I actually wasn’t setting out with that in mind when shooting or when editing.  It’s just some street photography on an old French street, but you can really see a modern interpretation of the world as Van Gogh probably saw it as a 30 year old capturing the night around him.

Crepes evening snack
Snack before hitting the town.
A date with the boys

I actually took a picture of Van Gogh’s cafe during the day from the exact same perspective later in the trip but I think these street shots of the night in Aix is closer to his work than that picture.

Les Enfants
Les Enfants

I read a lot of books and looked at a lot of pictures by famous Artists from the area and it looks like I subconsciously copied it a bit.  Or perhaps all of southern France is just as beautiful as the paintings from a time long past.

Churches, Cathedrals, and Papal Palaces in Provence

Trying to edit through all the pictures from my trip to France.  I decided to edit them by category instead of by day, so far I’m only through all the Church pictures I took but I’m really super impressed with the low light performance of the OMD EM5 Mk-II.  I didn’t have a tripod with me out of respect to church-goers.  I also made use of the OMD’s silent shutter mode and articulating screen so for the most part I was just silently wandering around the church with my head down looking at the camera at waist level.

Here’s the link to the full 71 pictures:
Churches, Cathedrals, and Papal Palaces in Provence

Cathedral, Aix en Provence
“Reading”

Handheld HDR.  Still working out kinks with Lightroom’s new HDR module.  The afternoon light streaming through window high above just happened to fall perfectly on the man reading his bible.  I couldn’t have posed it better if I wanted.

Aix Chapel
Statues and Paintings

A dim side chapel in the Cathedral, a big testament to the low light abilities of the OMD and it’s stabilization to shoot this without a tripod.

Jesus Statue
Jesus Statue

It was really low key taking shots from the waist with the camera.  With the silent shutter you really have to be paying attention that the picture was taken because the camera gives no response at all when you press the shutter except for a flicker of the screen (if you have the screen on).

Modern Mary Magdalene

My favorite picture of the set.  I think she had just got done singing in the church or rehearsing to sing later; but she definitely saw me taking a picture (I had it to my eye using the viewfinder) and put a little more strut in her step as she walked past.  I just love the contrast of her strutting in her red dress down the aisle of the Cathedral.

Lightroom CA and Distortion Lens Corrections (And why I love Micro Four-Thirds).

An often overlooked edit in Lightroom is the Lens corrections for Distortion and Chromatic Aberration.  No lens is 100% perfect, the act of passing light through 10-20 glass elements introduces errors to the image, although slight it can be noticeable in the corners of a photograph when looking close (1:1 zoom in a viewer).  If you haven’t been making lens correction to your RAW images you may have imperfect images in all your shots you process.

Chromatic Aberration (or CA) shows up as purple and green fringing in high contrast areas that can become distracting with poor optics.  And Lens Distortion usually occurs when at wide angles, especially with lenses that have a broad range of zoom like a 24-200mm super zoom lens.  Rather than type up the pages of documentation of how and why this occurs I’ll just throws this link in if you want to know more about CA and Distortion.

Lightroom has options to correct both of these in the “Lens Corrections” tag of the Development module.  If you find the issue is distracting or you’re a perfectionist you can correct the CA and Distortion.  There is also the option to load pre made Lens Profiles that are already customized for your Lens and Camera Body combination that know the peculiarities of your combination and auto edit the image accordingly.  For the Details on how to do this check out this great link; and find the Lens Profile Downloader here.

The reason I don’t want to type a big mess on how to correct Lens Distortion is that I don’t have to deal with it.  When the Micro Four Thirds standard was create it created smart digital lenses know their own flaws and embed the corrections into the RAW file itself.  Lightroom is smart enough to see these built in corrections and apply them at import.  It’s like having Adobe’s Lens Profile Database but they travel with the lens and are added to every RAW image file.

One of the often questioned issues is if Panasonic Lenses still apply Distortion and CA correction on Olympus camera bodies and vice-versa.  The answer is yes, it still works.  Here’s the info from Lightroom on a Panasonic 7-14mm wide angle lens with an Olympus OMD EM5 Mk.II.

Lightroom corrects Panasonic Lens on Olympus Body
Yes, a Panasonic Lens on an Olympus Body is still auto corrected.

I played around to see if I could further refine the lens corrections and it only makes the issues worse since it’s already at optimal settings.

You never know what you’ll find.

Currently abroad, visiting Les Baux-de-Provence. Stuck the camera through an overhead gap in the rocks and found what was probably my favorite vantage on the town. Although taking pics stretched holding my camera overhead was a bit awkward.

Investigate every vantage point you find.

.

Always Save Your Negatives.

It used to be you would always keep your negatives because creating a print loses some detail, and copying a print lose more, and each copy of a copy compounds the issue.

In the digital world we don’t have negatives and prints, but RAW files and JPEGs are much the same.

Creating JPEG files is very similar to making a print from the RAW file which is like your untouched negative; some data is dumped and the image is compressed.  The small artifacts and errors are usually too small to be noticed but if you re-edit the JPEG and re-save it (compressing it again) those artifacts and errors will grow and be magnified.  The same error compounding as when you make a copy of a copy of a copy.

This video shows what happens when an image is re-saved and compressed on top of itself as a JPEG 500 times.

Moral of the story:
Save your RAW files (negatives) untouched, and export new JPEG copies off of them for the edits you make.  If you want to make new edits or change the photo, create a new JPEG using the RAW file as the base so you don’t perpetuate any errors created in the last JPEG save.
Luckily this is the standard operating procedure of Lightroom.  Your original file is untouched and Lightroom shows what your edits will look like; but a copy of those edits doesn’t exist until you export the image creating a new JPEG.  Even if you delete Lightroom and it’s catalog you’ll still have your folder full of untouched RAW negatives you can rebuild from.

Image noise at low ISO

I just wanted to repost this excellent article on causes of image noise from DPReview.

What’s that noise? Shedding some light on the sources of noise

It’s frequently drilled into our heads that image noise only comes from higher and higher ISO settings but you can actually get noise in other forms.  Any low light situations can have noise even at your lowest ISO settings.  The basic takeaway is if you’re post processing, expose your images to the right without clipping off highlights and then bring the exposure back down in post.  You’ll end up with better detail in the shadows.

It’s easier to bring down unclipped highlights then bring up near black shadows, there are a lot more photons to work with on the right end of the histogram.